
Half Wall Board and Batten Ideas: Cap, Rail, and Skirting Layouts
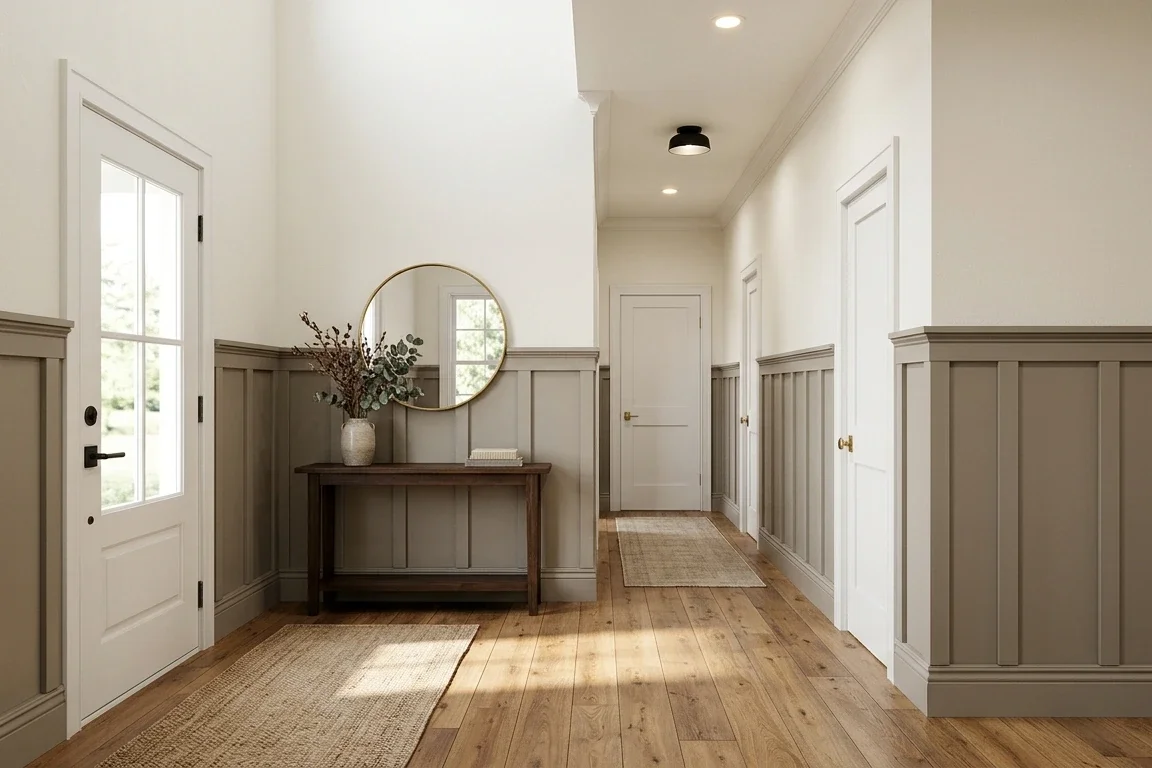
Installing a half wall board and batten treatment brings architectural character, durability, and visual grounding to high-traffic hallways, dining spaces, and bedrooms. By concentrating millwork on the lower portion of the wall, this wainscoting style protects drywall from everyday scuffs while introducing rich shadow lines and textural contrast against smooth paint above.
Comparing Half-Wall Wainscoting Layouts
Before cutting lumber, selecting your preferred half wall board and batten layout determines how your trim interacts with surrounding room elements like window stools, electrical switches, and doorways. Rather than following rigid height formulas or arbitrary proportions, evaluate how these four distinct millwork arrangements suit your space:
1. Classic Vertical Battens with a Continuous Cap Rail
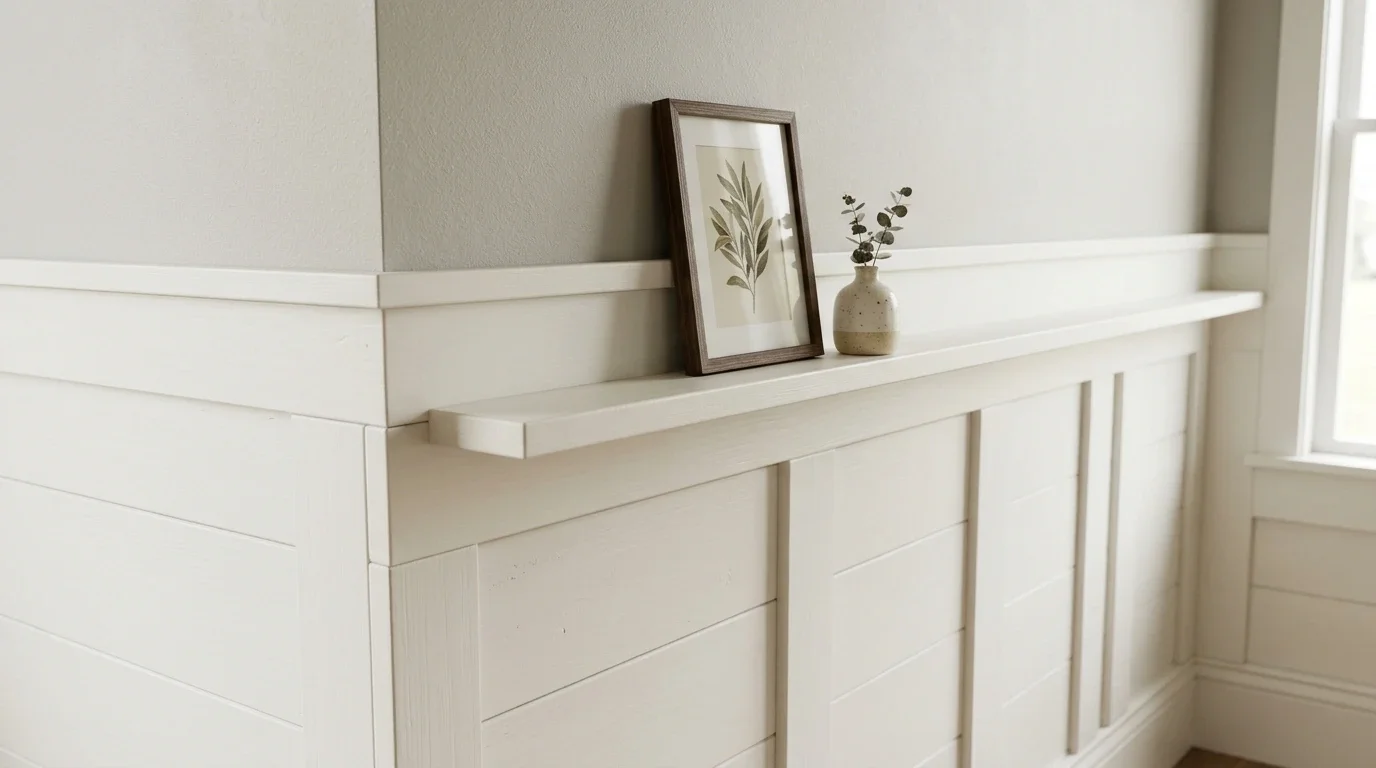
The most recognizable half-wall approach pairs evenly spaced vertical stiles with a flat horizontal top rail and an overhanging cap moulding. The cap rail extends outward from the wall by 15 to 25 mm, creating a finished ledge that can hold small framed prints or simply provide a crisp visual transition to the drywall above.
This configuration represents an exceptionally clean, easy half wall board and batten project because the vertical stiles share identical cut lengths across straight walls. Terminating all battens into a single level top rail ensures fast assembly and predictable alignment throughout the room.
2. Bottom Rail Transitions and Skirting Heights
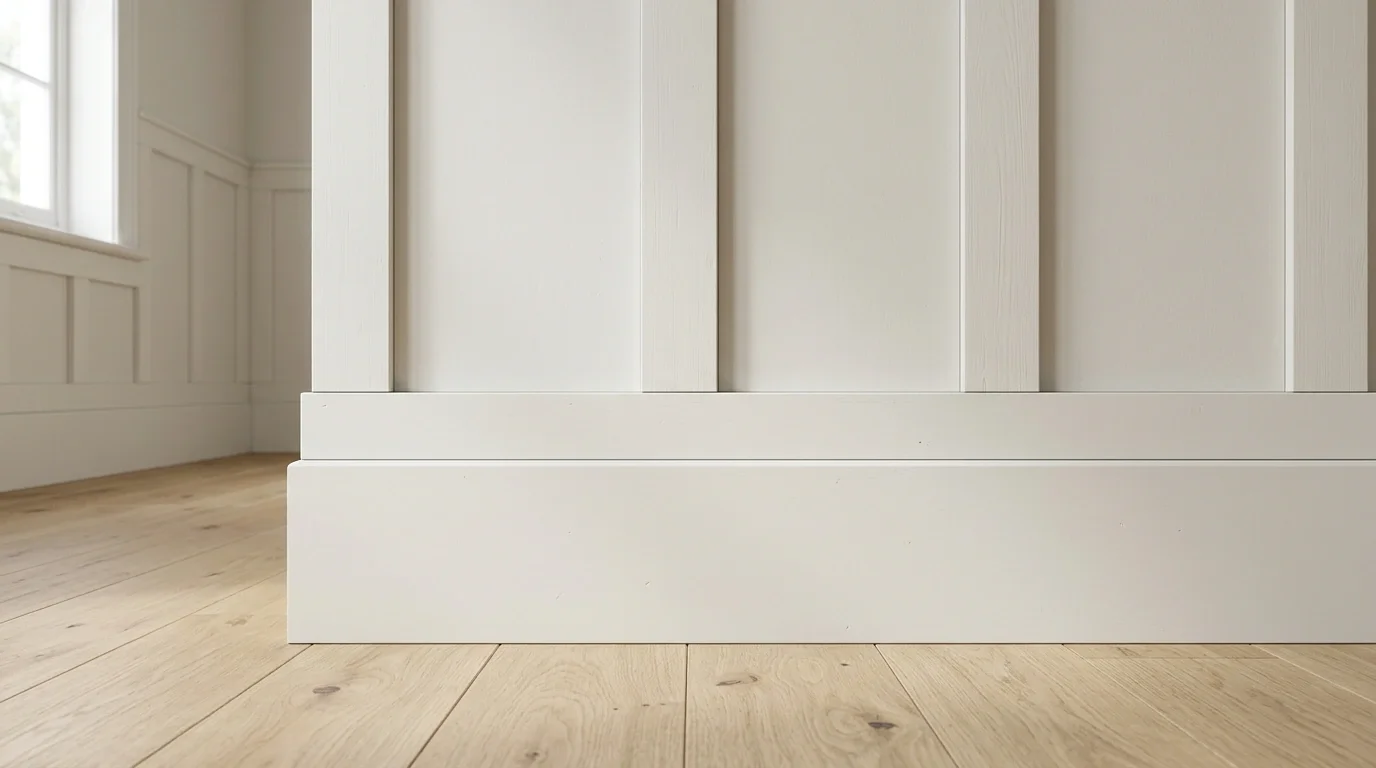
How your vertical battens meet the floor fundamentally changes the character of the installation. Woodworkers typically choose between two bottom transition details:
- Direct Skirting Butt Joint: Vertical stiles terminate directly onto the top edge of existing baseboards. This works well with modern flat-profile baseboards that have a square top edge wide enough to receive the batten thickness.
- Dedicated Bottom Rail atop Baseboard: A horizontal base rail is mounted directly above the skirting board, creating a clean reveal before the vertical stiles begin. This detail accommodates decorative or beveled baseboards without requiring you to remove or notch existing trim.
Adjusting the combined height of the skirting and bottom rail allows you to visually weight the bottom of the wall, preventing tall vertical panels from looking top-heavy.
3. Half-Height Symmetrical Grid Pattern
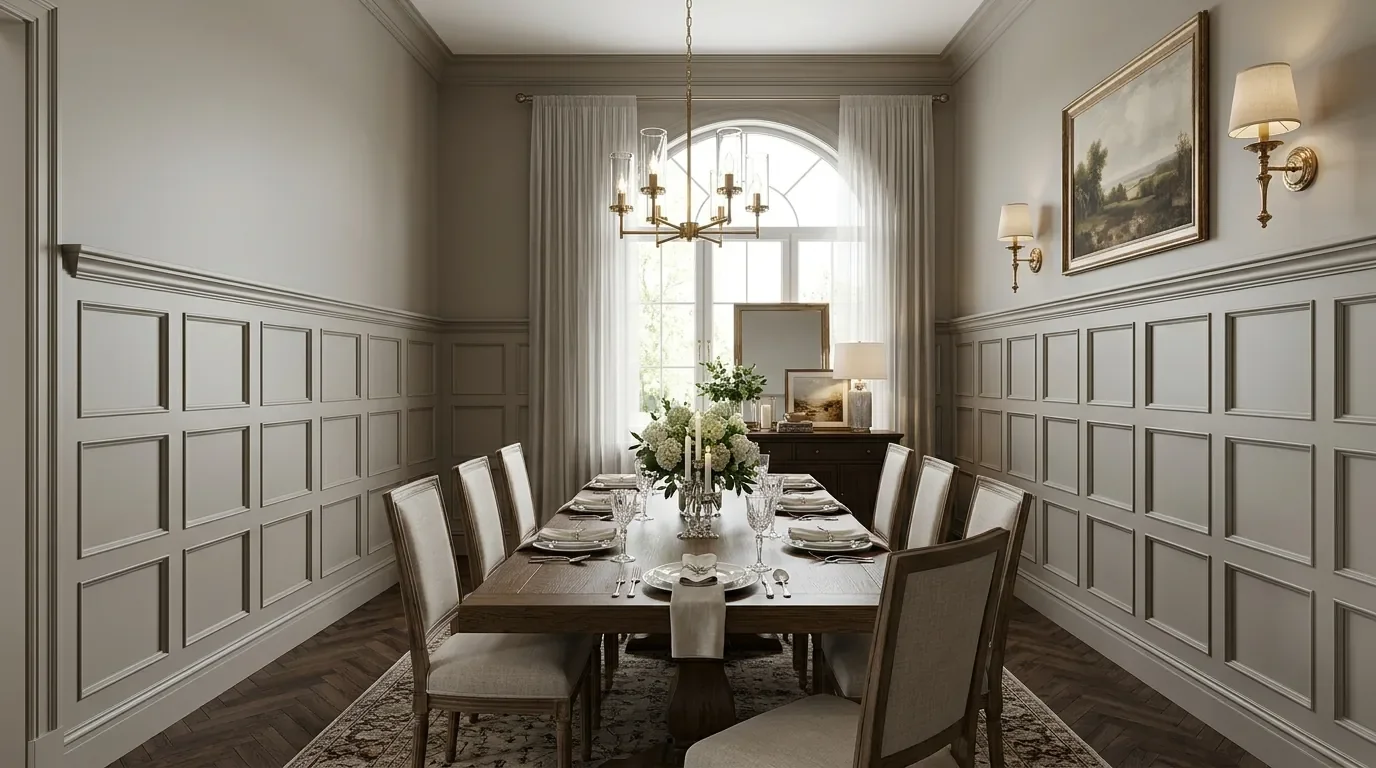
Adding an intermediate horizontal rail between the top and bottom rails transforms basic vertical battens into a two-tier or three-tier square grid. This design creates a series of structured, coffered wainscoting panels that evoke classic Craftsman and architectural parlor styling.
A multi-tier grid requires consistent board thicknesses across all intersecting pieces so seams remain flush. Spacing intermediate rails around light switch plates and window aprons prevents horizontal trim lines from colliding awkwardly with wall openings.
4. Half-Wall Picture Frame Moulding Boxes
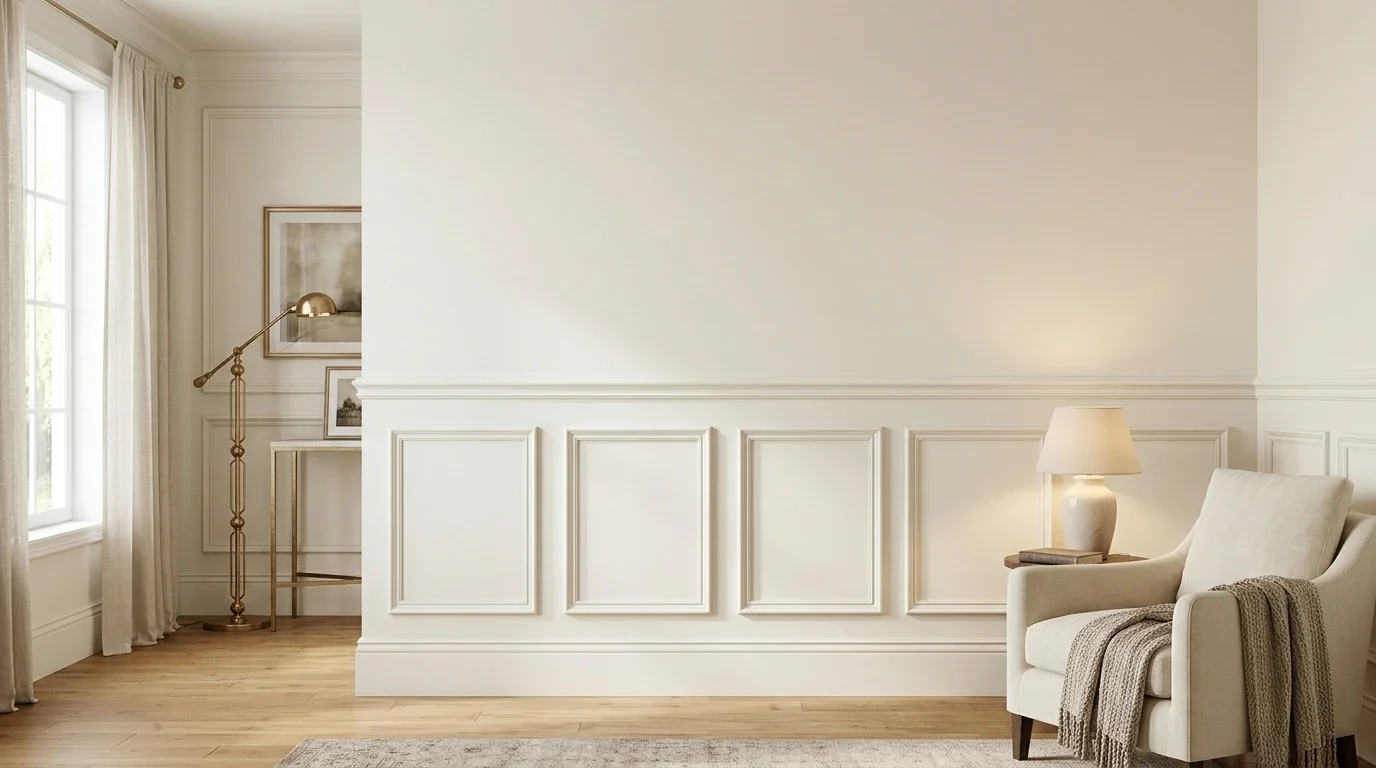
Instead of continuous vertical stiles that run uninterrupted between rails, picture frame wainscoting utilizes independent rectangular moulding boxes centered along the lower wall. Each box consists of four mitered trim pieces separated by a uniform drywall reveal.
Picture frame boxes provide maximum flexibility around wall obstacles because you can adjust individual box widths to fit specific wall spans. Centering individual boxes under wall sconces or symmetrically within wall sections creates a formal, tailored appearance that feels custom-built for the room.
How to Calculate Spacing on a Half Wall
Accurate half wall board and batten spacing depends on establishing uniform bay widths across each individual wall segment. Because room lengths vary, spacing is calculated wall by wall rather than forcing an arbitrary panel width across the entire house.
To determine your spacing intervals:
- Measure the Wall Run: Determine the total clear length of the wall from corner to corner (or from door casing to corner).
- Subtract Batten Thicknesses: Multiply the actual face width of your vertical battens by the number of battens you plan to install, and subtract this sum from the wall length.
- Divide by the Number of Bays: Divide the remaining drywall width by the number of open panel spaces. If battens are placed at both ends, the number of bays is batten count minus one. If outer margins match interior spaces, divide by batten count plus one.
Practical Tip: Rather than adhering to dogmatic rules of thirds, set your half-wall height based on physical room references—such as aligning the cap rail just below a window sill, matching the height of nearby furniture, or clearing switch plates cleanly.
Plan Your Wall Panels with Interactive Calculators
Before purchasing trim boards or marking your walls, verify your layout and materials online:
- Board and Batten Calculator: Estimate total linear feet, lumber requirements, and material counts for your stiles, rails, and cap trim.
- Wall Panel Planner: Experiment with cap rail elevations, baseboard heights, and vertical batten intervals to visualize your exact half-wall layout in real time.
More ideas for your project
All ideas